How to Thread a Sewing Machine. The Main Accents and Aspects

Step-by-step Guide to Threading a Sewing Machine
- Power Off: Ensure the sewing machine is turned off and unplugged for safety.
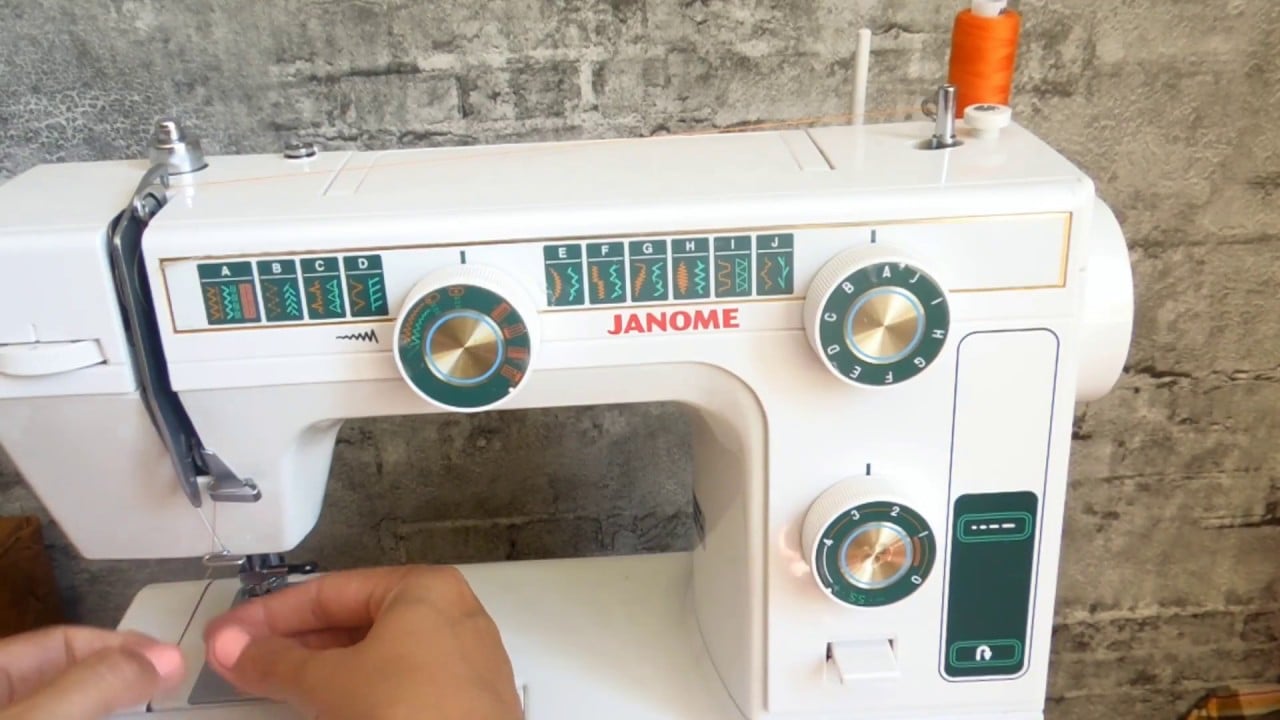
- Thread Spool Placement: Place the thread spool on the spool pin, which is usually located at the top of the machine. Make sure the spool rotates freely.
- Thread Guide: Check your sewing machine's threading diagram in the manual to locate the thread guide points. These are often numbered and guide the thread from the spool to the needle area.
- Thread Tension Disc: Pass the thread through the tension disc. This is a critical step as it helps regulate the tension of the upper thread.
- Take-Up Lever: Thread the thread through the take-up lever. The take-up lever moves up and down as you sew, and threading through it correctly helps prevent thread snags.
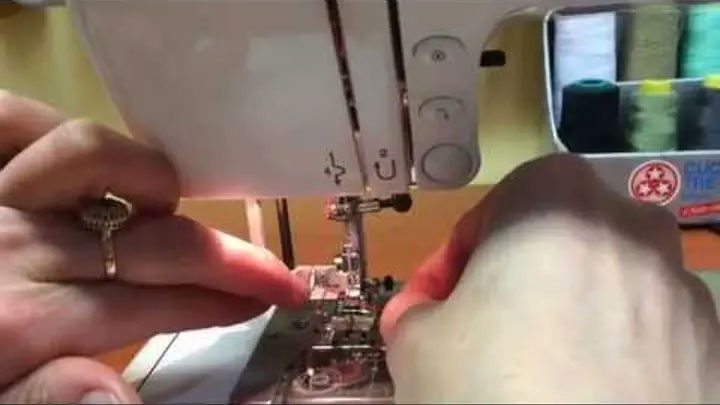
- Needle Threading: Thread the upper thread through the eye of the needle from the front to the back. Use a threader if necessary.
- Raise the Presser Foot: Lift the presser foot using the presser foot lifter. This releases the tension on the upper thread, allowing it to seat properly in the tension discs.
- Bobbin Winding and Placement: If your machine uses a top-loading bobbin, wind the bobbin and insert it into the bobbin case. Follow the threading diagram in the manual for bobbin placement.
- Bobbin Thread: Pull the bobbin thread out and towards the back of the machine through the indicated guides.
- Machine Setup: Depending on your machine, make sure it's set to the appropriate stitch length, stitch width, and needle position for your project.
- Power On: Plug in the machine and turn it on. Some machines have built-in lights that illuminate the sewing area, making threading easier.
- Manual Reference: If needed, refer to your sewing machine's manual for specific threading instructions. The threading path might vary based on your machine model.
- Remember that while these steps provide a general guideline for preparing your sewing machine for threading, it's essential to refer to your sewing machine's manual for precise instructions. The manual will have detailed diagrams and explanations specific to your machine model, which can help you thread the machine accurately and avoid any threading-related issues.
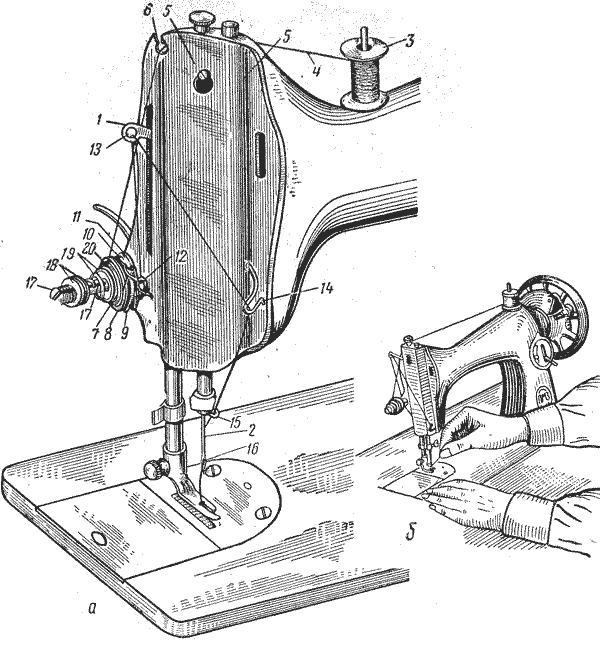
The threads leading downward should be threaded directly into the needle. Specialists strongly recommend using both hands when threading — hold the thread with your left hand, turn the handwheel synchronously with the other.
After threading, do a test sewing. If the whole process is performed correctly, then the seam will turn out smooth and without gaps. A broken thread indicates the need to re-thread. Please note that industrial models are more complicated than home sewing machines, but threading in the vast majority of cases is performed in exactly the same way. Before starting the process, the bobbin is wound on a special holder. Immediately after, the wound bobbin is set into the bobbin case and set into place in the structure by slightly moving the plate away.
After that, the thread spool is installed on a special holder, while threading the threads through the holes in the plate, down through the raised thread guide. With the help of the tension regulator, the upper thread enters the controller, compensator and disc nose. Thread the needle from left to right, or vice versa, depending on the specifications of the sewing equipment model. The end of the thread must be placed between the plate and the foot. That's it, the process is complete — when you turn the flywheel, the lower thread should be shown from the plate.
Threading my Machine. Professional Advices
- Right before setting up the sewing machine, thoroughly clean and lubricate it for maximum performance;
- At the beginning of the sewing process, operate at initial speeds to check the thread periodically;
- Practice with swatches or trims to experience a simple straight stitch;
- Use only the highest quality threads so that there is no lint left in the mechanism after work;
- If the stitching is uneven, you need to precisely adjust the tension;
- The needle needs to be changed regularly.
- On both sides, insert the thread into the guide plate;
- If on your model of a sewing machine, the thread is wound directly on the bobbin, then remove the upper thread from the guide;
- Check the presser foot. It must always be locked in the upper position to prevent further abrasion;
- If the bobbin slips too quickly in the bobbin case, you can put a piece of paper inside. If you follow these simple rules and tips, then there will be no problems in threading and your equipment will work like a Swiss watch.
- The choice of thread is extremely important. When choosing a thread, you should be guided by the following rules:
- Don’t use poor quality thread. Due to outdated manufacturing standards, when using these threads, sewing equipment can behave completely unpredictable;
- The needle markings must correspond exactly to the thread markings;
- Cotton thread is most often used in the basting and hand sew process, so it has a certain specificity when used on industrial sewing equipment. Be sure to pay attention to this fact when threading;
- Profile experts strongly recommend the use of innovative polyester yarns — they are extremely strong and completely resistant to abrasion over time;
- When using polyester yarn, be sure to pay attention to its exceptional versatility — it can be used for all types of fabrics;
- Please note, natural fibers are excellent for natural types of fabrics.
Conclusion
Products related to this post