How to adjust the thread tension in a sewing machine yourself?
Adjusting the thread tension on a sewing machine is a crucial step to ensure balanced stitches and optimal sewing performance. Here's a step-by-step guide on how to adjust the thread tension yourself:
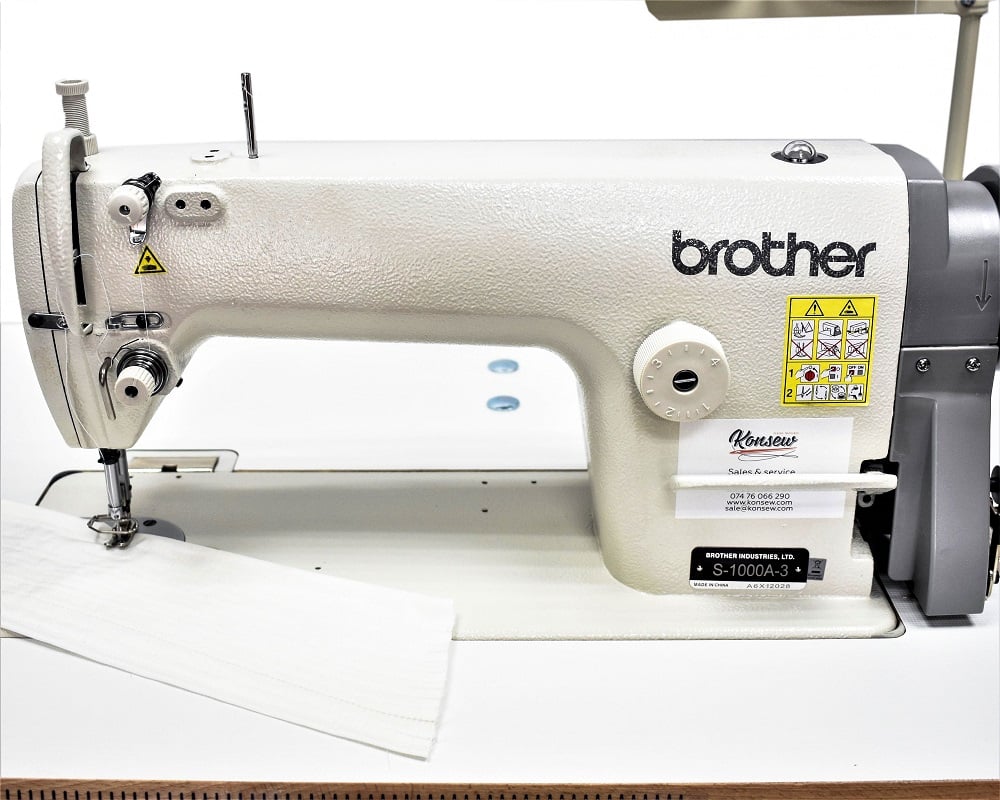
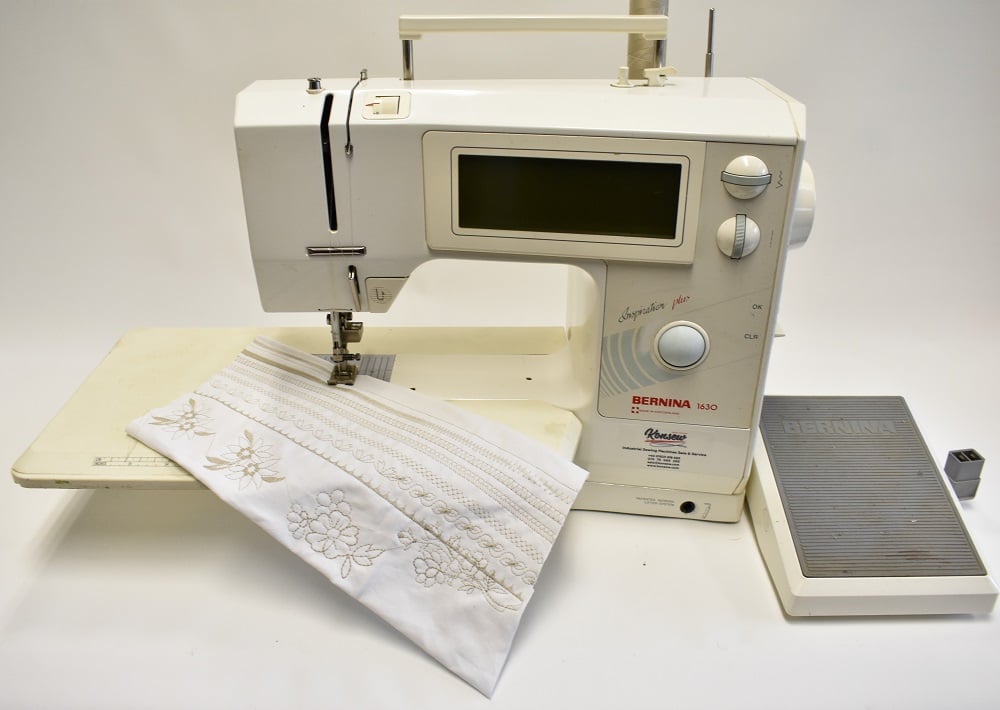
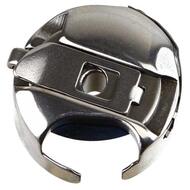
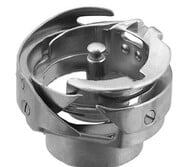
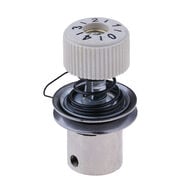
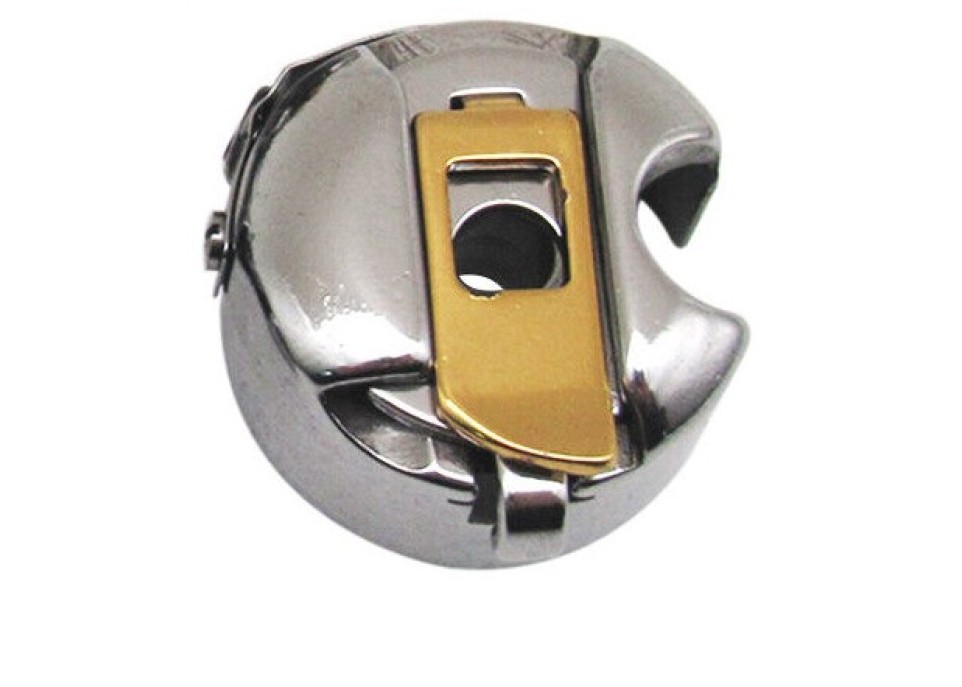
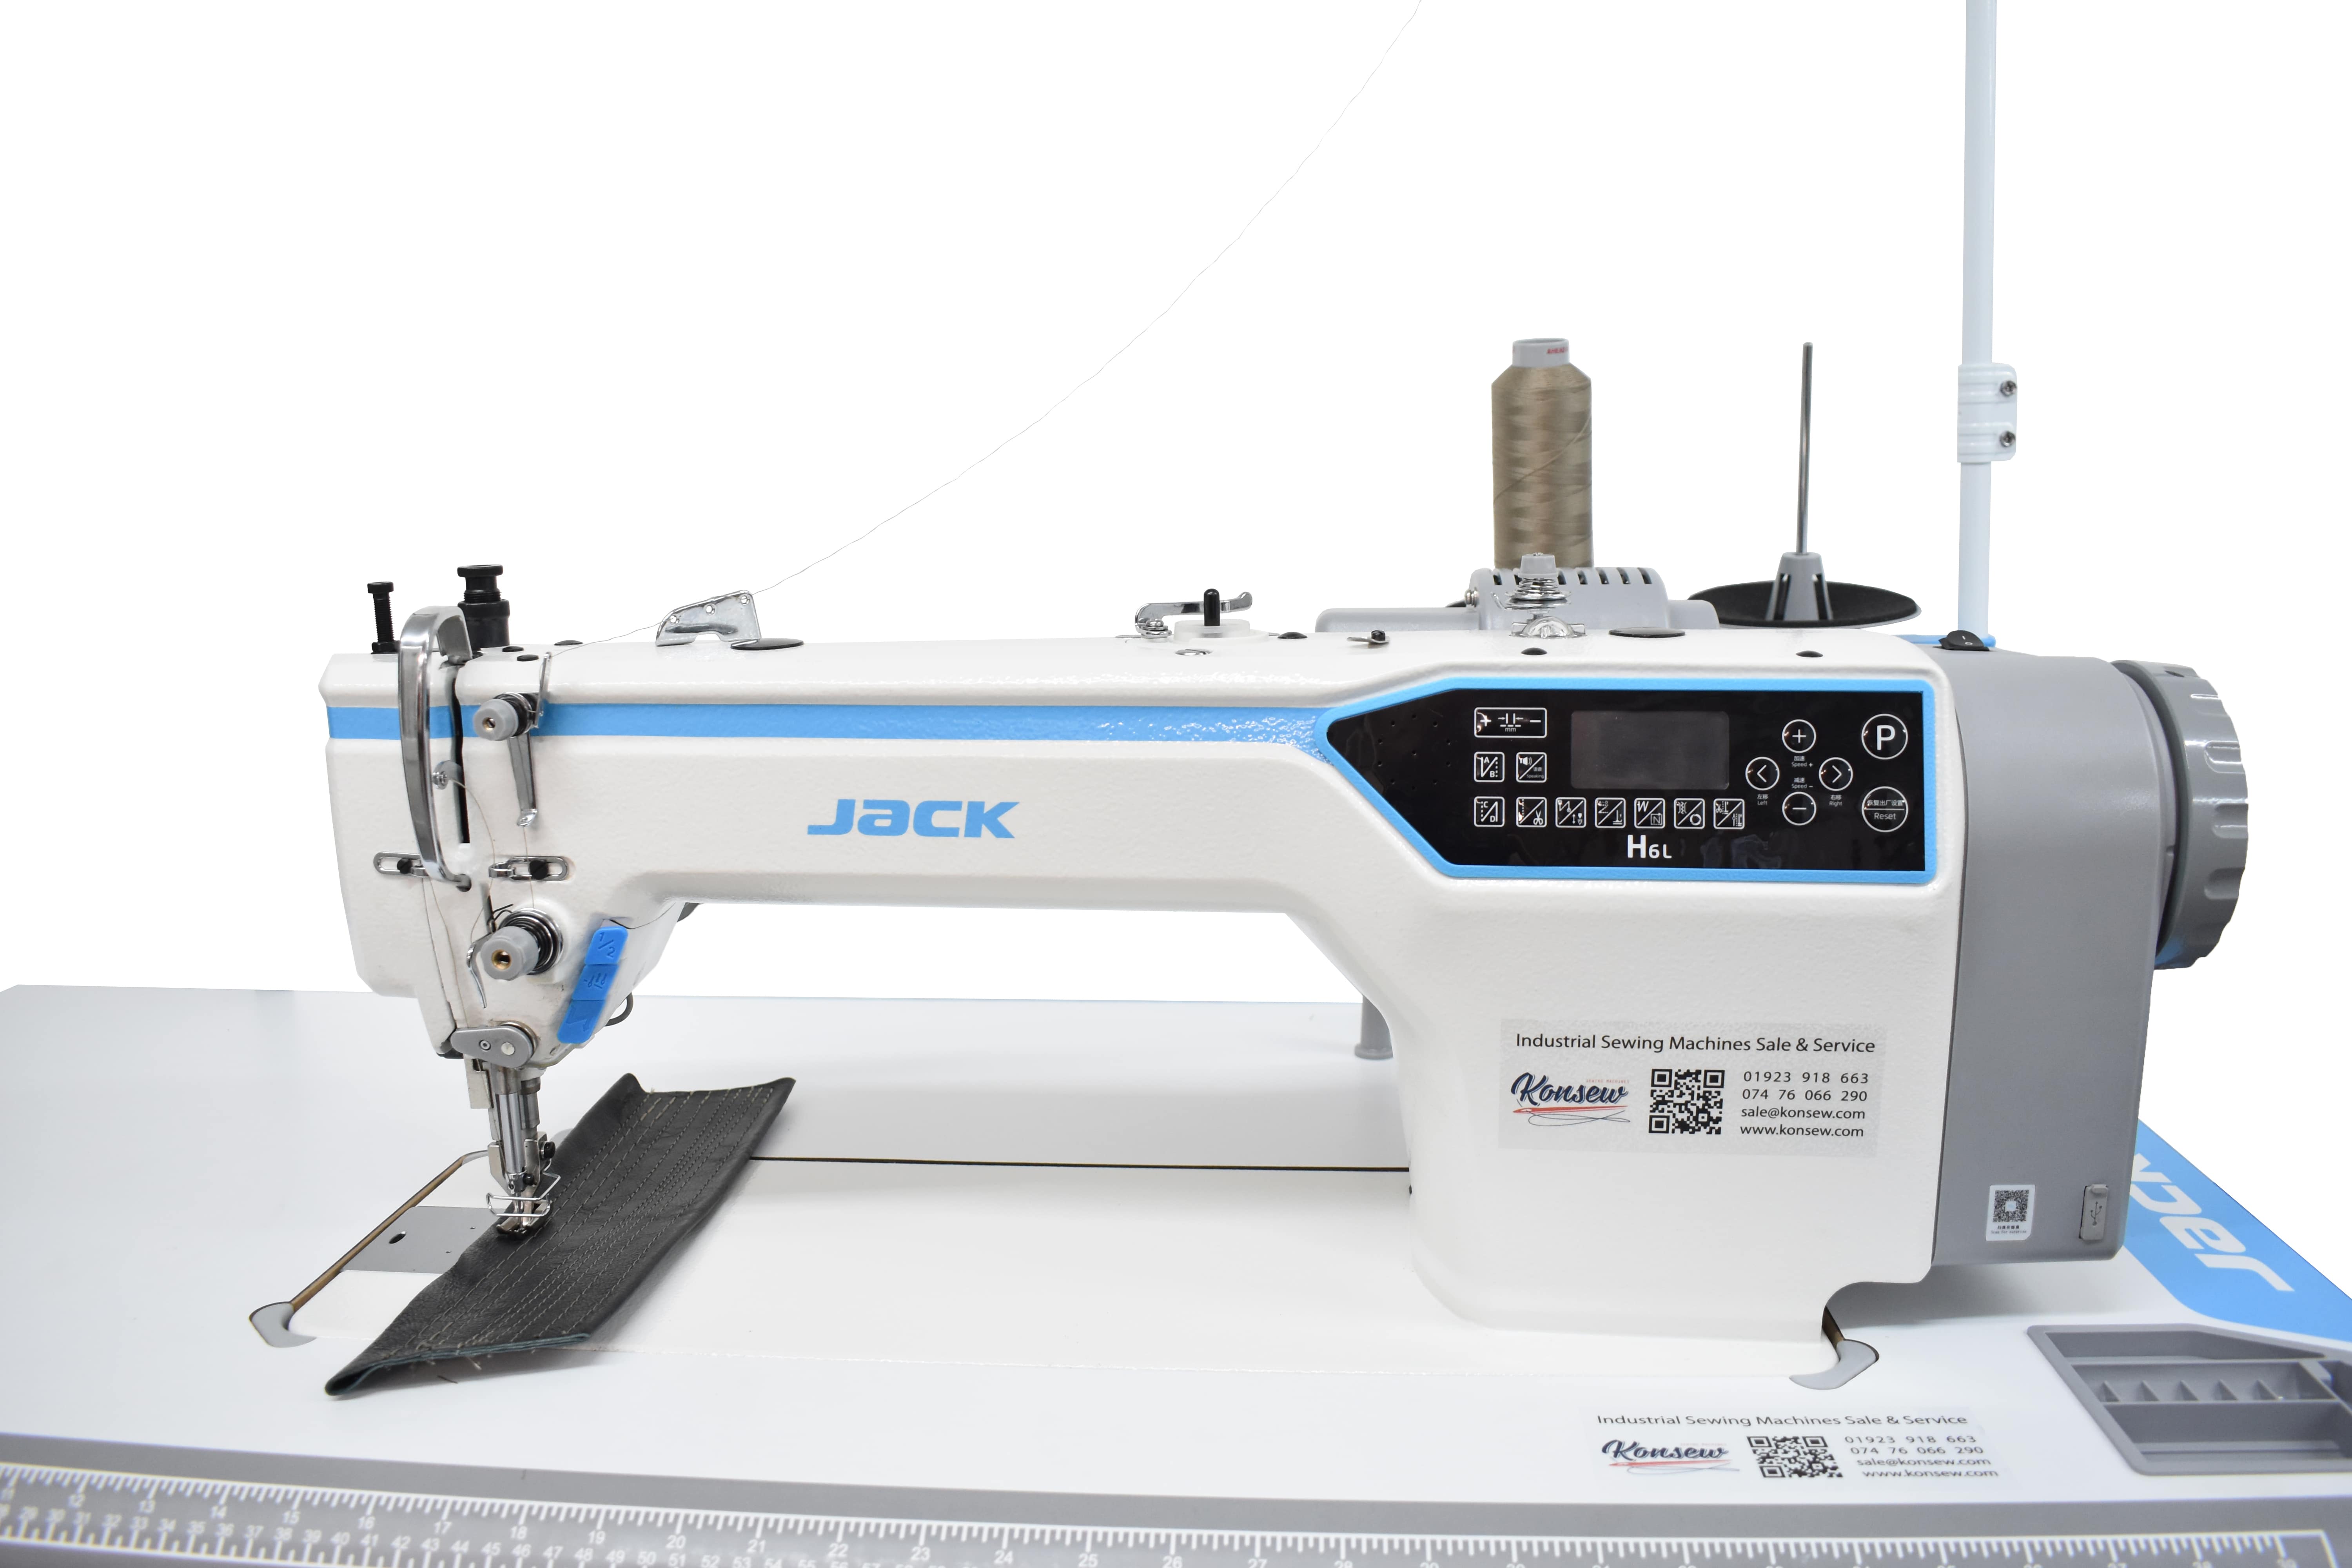
Understand the tension controls: Before adjusting the tension, familiarize yourself with the tension controls on your sewing machine. Most sewing machines have two tension controls: one for the upper thread (located on the machine's faceplate or near the needle) and one for the bobbin thread (located on the bobbin case or shuttle).
Test on scrap fabric: Start by selecting a scrap piece of fabric that is similar to the material you'll be sewing. It's essential to adjust the tension on the same type of fabric to ensure accurate results.
Adjusting the upper thread tension: Begin by setting the upper thread tension dial to the default or neutral setting. This is usually around the midpoint of the tension range. Sew a test seam on the scrap fabric and examine the stitches. If the upper thread is too loose (resulting in loopy or puckered stitches on the bottom side of the fabric), increase the tension by turning the dial slightly clockwise. Conversely, if the upper thread is too tight (causing the fabric to pucker or the stitches to be too tight), decrease the tension by turning the dial slightly counterclockwise. Make small adjustments and test sew after each adjustment until you achieve balanced stitches.
Adjusting the bobbin thread tension: If your sewing machine has a bobbin thread tension adjustment, you may need to adjust it to complement the upper thread tension. However, many modern sewing machines have preset bobbin tensions that don't require manual adjustment. Refer to your machine's manual to determine if the bobbin tension needs to be adjusted and how to do so if necessary.
Check the stitch quality: After adjusting the tension settings, sew another test seam on the scrap fabric and examine the stitches carefully. The ideal tension adjustment will produce balanced stitches with the upper and bobbin threads interlocking smoothly in the middle of the fabric layers. Make further adjustments as needed until you achieve the desired stitch quality.
Document the settings: Once you've found the optimal tension settings for your fabric and thread combination, take note of the dial positions or write them down for future reference. This will make it easier to set the tension correctly for similar projects in the future.
By following these steps and practicing on scrap fabric, you can confidently adjust the thread tension on your sewing machine to achieve professional-quality stitches for your sewing projects.




.jpg)
.jpg)
-min.jpg)

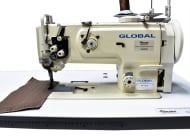
 Twin Needle Walking Foot Needle Feed Sewing Machine 6.jpg)

