Sewing Machine Tension Problems
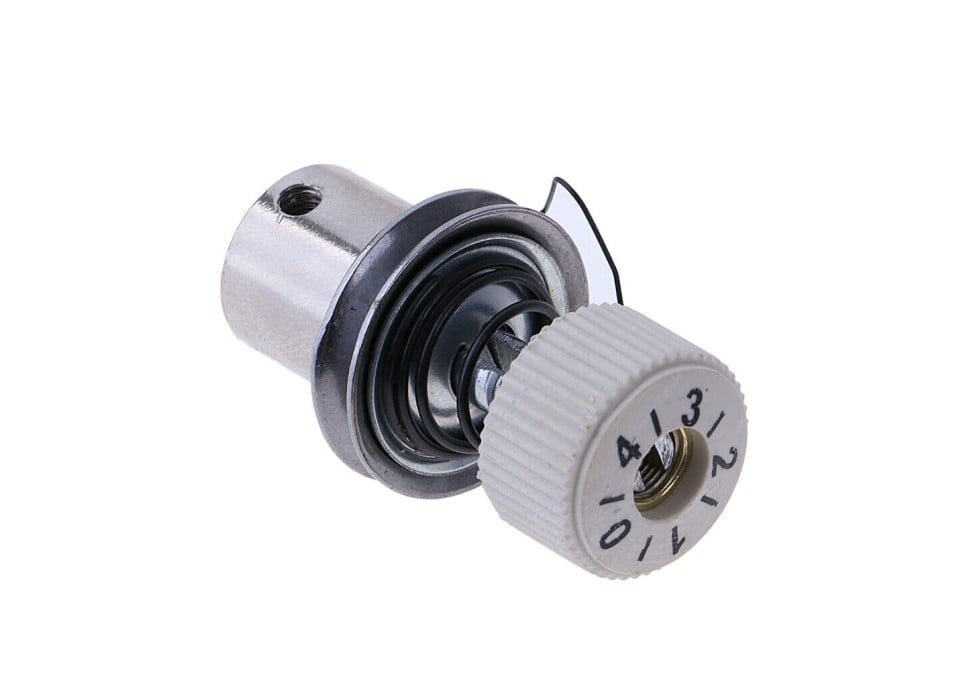
The quality of the final textile depends entirely on the correct settings of the thread tension in the sewing machine.
This parameter is a key aspect of proper fabric handling and will determine the performance rating as you change the type of fabric to process.
If something is wrong during the process of working with tension — the thread breaks all the time, and the seam turns out to be sagging, then the root of the problem lies in the wrong thread tension adjustments. The fabric may jam, and gaps will form on the seams. So, how to achieve ideal sewing machine thread tension?
How to Fix Tension on Your Sewing Machine
If during sewing the line turns out to be uneven or ugly, then you must pay attention to the set tension parameters. The reason may not be the correct tension, but other incorrectly set parameters of the sewing machine. The excessive or insufficient tension causes problems with the formation of an even and aesthetic seam.
While dealing with common thread tension issues, it can create a problem with any sewing machine from a wide variety of manufacturers. Often, manufacturers supply their devices with automatic adjustment, but it sometimes fails.
While checking the sewing machine tension, check the stability of the sewing process, make sure there are no extraneous sounds and mechanical obstacles during the course of the machine. Check the lubrication of the sewing equipment mechanisms.
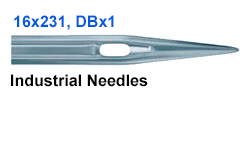
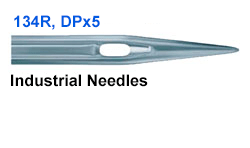
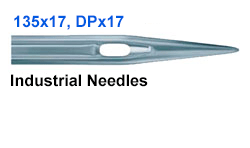
If the sewing equipment is brand new, then check that the thread is threaded correctly. Just in case, you should pull out the thread and rethread it again correctly, exactly following the illustrations in the technical instructions. Be sure to check if the selected needle is fit for the thread thickness. Another sure sign of a stretch problem is that the top and bottom threads of the seam intersect on one side or the other. Ideally, they should be connected strictly in the middle, inside the fabric. If the tension is set correctly, then it means that the tension is evenly distributed over the bobbin and the top equipment spool. Once you are satisfied that the tension problem has been identified, proceed to the troubleshooting step. How to easily adjust sewing machine tension? Follow the next instructions.
The main preparatory stage is the presetting of the tensioner. First, you need to tighten the upper nuts or screws on the outer part of the washer. At the same time, on different models of machines, the screws are located in different places. However, some of the older machines are harder to repair as its very difficult to get the parts.
Lower Thread Tension Setting
Lower thread setting algorithm is following:
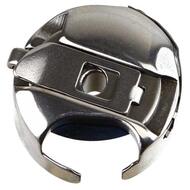
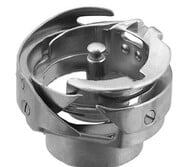
- Insert the bobbin into the bobbin case;
- Then you need to take the bobbin case by the thread;
- If the bobbin case hangs and doesn’t unwind, then you need to shake it a little;
- In a case the thread tension is set correctly, then the thread will unwind a few cm, but no more;
- If the thread doesn’t come out of the bobbin case by a centimeter, then loosen the tension on by turning the screw on the bobbin case;
- If the thread drops more than necessary, then you need to increase the tension of the bobbin case.
To adjust thread tension, use a usual small screw. Some sewing machine models have two. It is only necessary to turn the screw on the bobbin case by a couple of degrees when adjusting. In this case, it is recommended to do this as carefully as possible so that the screw does not fly far away. Right after adjusting the bobbin thread tension level, you can move on to adjusting the upper thread by following the adjusting procedure every time you change the warp thread.
Upper Thread Tension Setting
A test seam is usually made before setting up. If the thread is positioned correctly, the upper thread is overtightened. If the weave goes to the fabric’s wrong side, then it must be tightened. Ideally, the threads should be intertwined right inside the fabric.
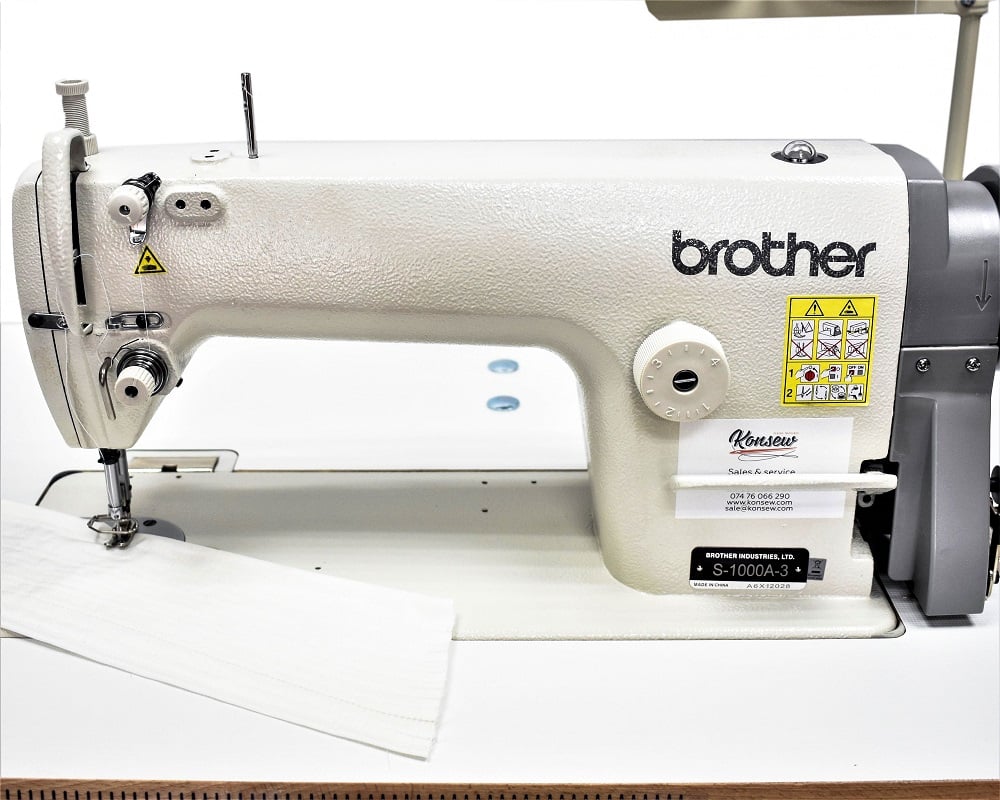
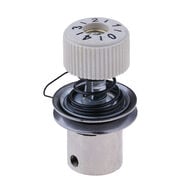
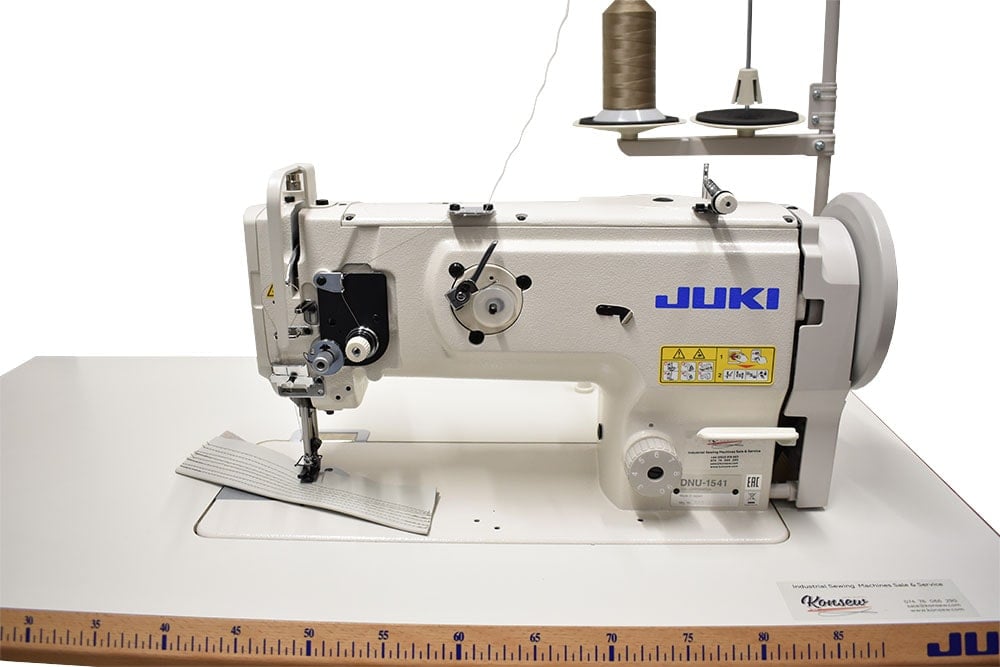
The main upper thread knob of the tensioner is usually located on the arm of the sewing equipment. You can accurately find its location using the added technical instructions. If the instructions are not at hand, then carefully inspect the equipment cases and find the corresponding regulator with numbers. More often than not, it looks like a round rotary knob with numeric markings — the lower the number, the lower the tension. If you twist in the direction of large numbers, then the tension indicator will increase.
The tuning algorithm is as follows:
- Turn the tuning lever halfway;
- Make a test seam;
- If the result is unsatisfactory, then repeat the adjustment until the seam is satisfactory for you;
- As a result, you will achieve a balanced tension level — the thread will not sag and pull.
Problems and Tips
If, after completing all the recommended actions, it is not possible to adjust the tension, then follow the recommendations of the specialists:
- Check tensioner springs. It may happen that they are worn out, and can no longer press the washers against each other, optimally holding the thread. In this case, a major overhaul of the equipment may be required;
- If the fiber frays and breaks, then the material of the top tensioner plates could deteriorate and corrode. If damage occurs on the thread guide, then it is required to trace the entire path of the thread and find out at what stage it is incorrectly fixed;
- If the bobbin has been wound by hand, then such errors can lead to a jump in tension. Try winding the thread on a different bobbin.
- If you have adjusted the tensioner correctly, but the sewing machine cannot maintain the required speed, then the main working mechanism of the sewing machine may need to be repaired and replaced.
In any case, it is strongly recommended to contact a specialized specialist. Relevant experience and professional skills will help to make the sewing process error-free and balanced, and the products are aesthetic, strong and qualitative.


.jpg)
.jpg)
-min.jpg)

 Twin Needle Walking Foot Needle Feed Sewing Machine 6.jpg)

